Are you missing the possibility to use a NAT network in Windows 10 Hyper-V?
But hey you can! But not from the Hyper-V console, but PowerShell gives you this option, since some time back, built into Windows 10. This post if tested and fully functional on Windows 10 1703
One bonus I found with this is that it will work when I am switching between Wi-Fi and cabled network, as the external Hyper-V switch will not do automatically.
The overall steps are
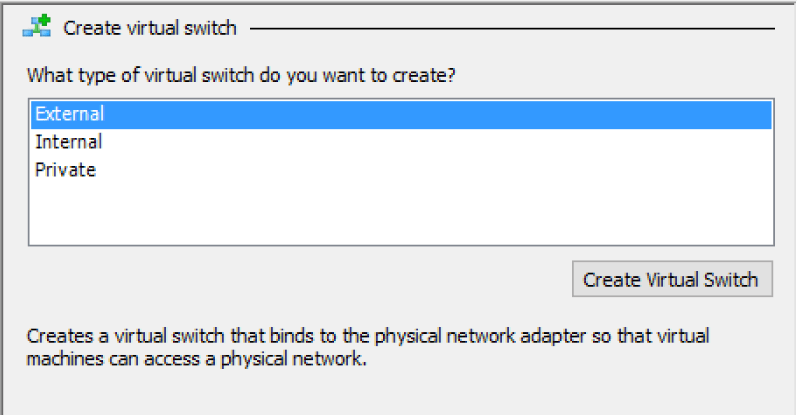
- First you need to create an internal Hyper-V switch
- Create the Hyper-V switch IP address
- Assign the IP address network as a NAT
and the PowerShell commands to create a NAT with the IP address 192.168.168.1/24
$VMNatName = “NAT”
$NetNatName = “NATNetwork”
$NetIPAddress = “192.168.168.1”
$NetIPPrefix = 24# Create network Nat
New-VMSwitch –SwitchName $VMNatName –SwitchType Internal
$NetAdapterName = (Get-NetAdapter -Name “vEthernet ($($VMNatName))”).Name
New-NetIPAddress –IPAddress $NetIPAddress -PrefixLength $NetIPPrefix -InterfaceAlias $NetAdapterName
New-NetNat –Name $NetNatName –InternalIPInterfaceAddressPrefix $NetIPAddress/$NetIPPrefix

Now just assign the VM to the NAT switch in Hyper-V and you are good to go!
Troubleshooting and clean up
If you for any reason need to clean up or troubleshoot your settings you should use the following commands
Get-VMSwitch | ft
Get-NetNat | ft
Get-NetIPAddress | ft
Remove-VMSwitch -Name $VMNatName
Remove-NetIPAddress -IPAddress $NetIPAddress
Remove-NetNat -Name $NetNatName
The only thing missing now is a micro DHCP server, but now you either use static IP addresses or create a VM that acts as a DHCP server…. Happy NATin
BitLocker post coming up in a day or two

Leave a comment